domain controller 1 (FSMO/CA)
Don't be like scyto
Don't do all the backup and restoring crap below
Only reason vhdx import wouldn't work is becuause i mis-documented the command as qm import.. when it is qm disk import
I could easily have imported the vhdx all along.... learn my lesson padawan
original gist content
Migrating Domain Controller 1 from Hyper-V to Proxmox by using Synology Backup
Why? Well it turns out long lived VHDX's often error on import with qm and never import.
Introduction
So here we are about a month later (9/21/2023) and time to migrate DC1 to proxmox (i did DC2 first). This has my FSMO roles.
So the image for this machine also failed to import with qm imports - there is something broken IMO with the support for VHDXs in qm, given searches reveal that this has been the case for years i don't expect to be fixed. Yes it works with newly installed VM on server Hyperv 2022, but older VHDXs just seem to cause issues. YMMV,
tl;dr - backups from backup software are still essentials when using virtual disks - don't assume they can be mounted or converted or migrated to a different virtualization platform.
As such i chose to restore from synology backup using the bootable recovery media
synology steps (detail out of scope)
- Install Active Bakcuop for Buisness backup agent on windows DC1 VM
- Backup DC VM
- Shutdown DC 1 VM
- Create Synology Recovery media and uplaod the resulting ISO to your promox iso store
Create VM (just unique items, assume you know how to do this)
- remember to set boot from the recovery media
- type windows (this is winpe)
- default graphics
- UEFI firmware with TPM
- create disk virtio block as ID 1 and 32gb (we will be deleting this later
- create disk IDE as IDE 1
- set size to be a bit larger than the main partitions on your old VM - for me this that was 71GB - this was smaller than the amount of files on the C: partition)
- enable discard
- caach = write through
- NIC = virtio - but don't have it bound to any interface (i.e. not vmbrx)
- after creation mount the virtio DVD as a SATA DVD
Restore
- boot VM
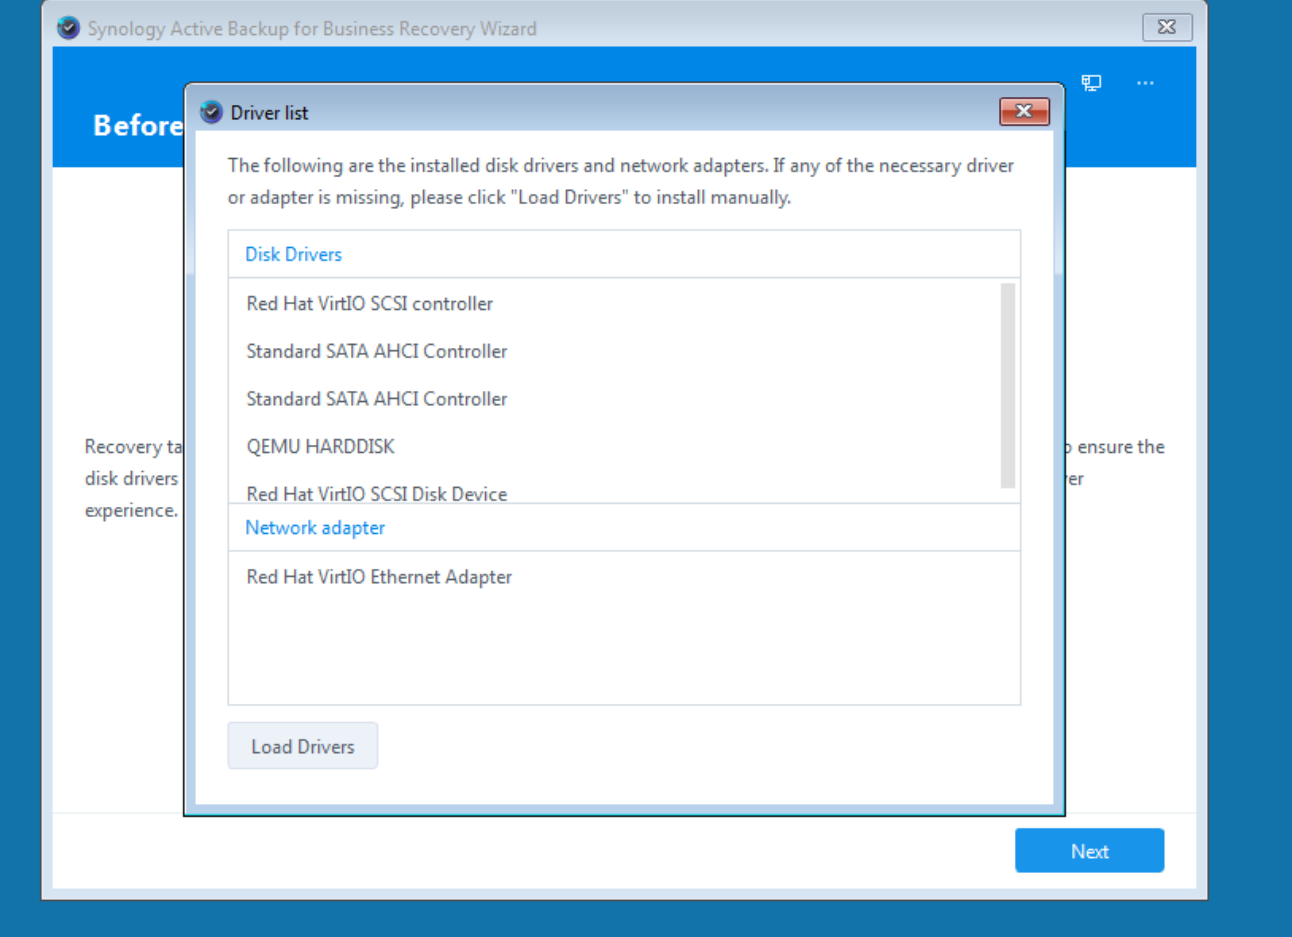
- at load drivers load the viostor driver AND the NetKVM driver
- proceed and enter the synoloy ip address, username and pasword
- ignore any SSL error
- chose the right backup - should be easy to know which one ;-)
- choose to restore manually:
- select the backup version you want (latest)
- choose just the c: not the reserved or EFI partitions, (choose boot from the restore system volume)
- say yes to all the warnings - hey its a VM who cares if it goes wrong ;-)
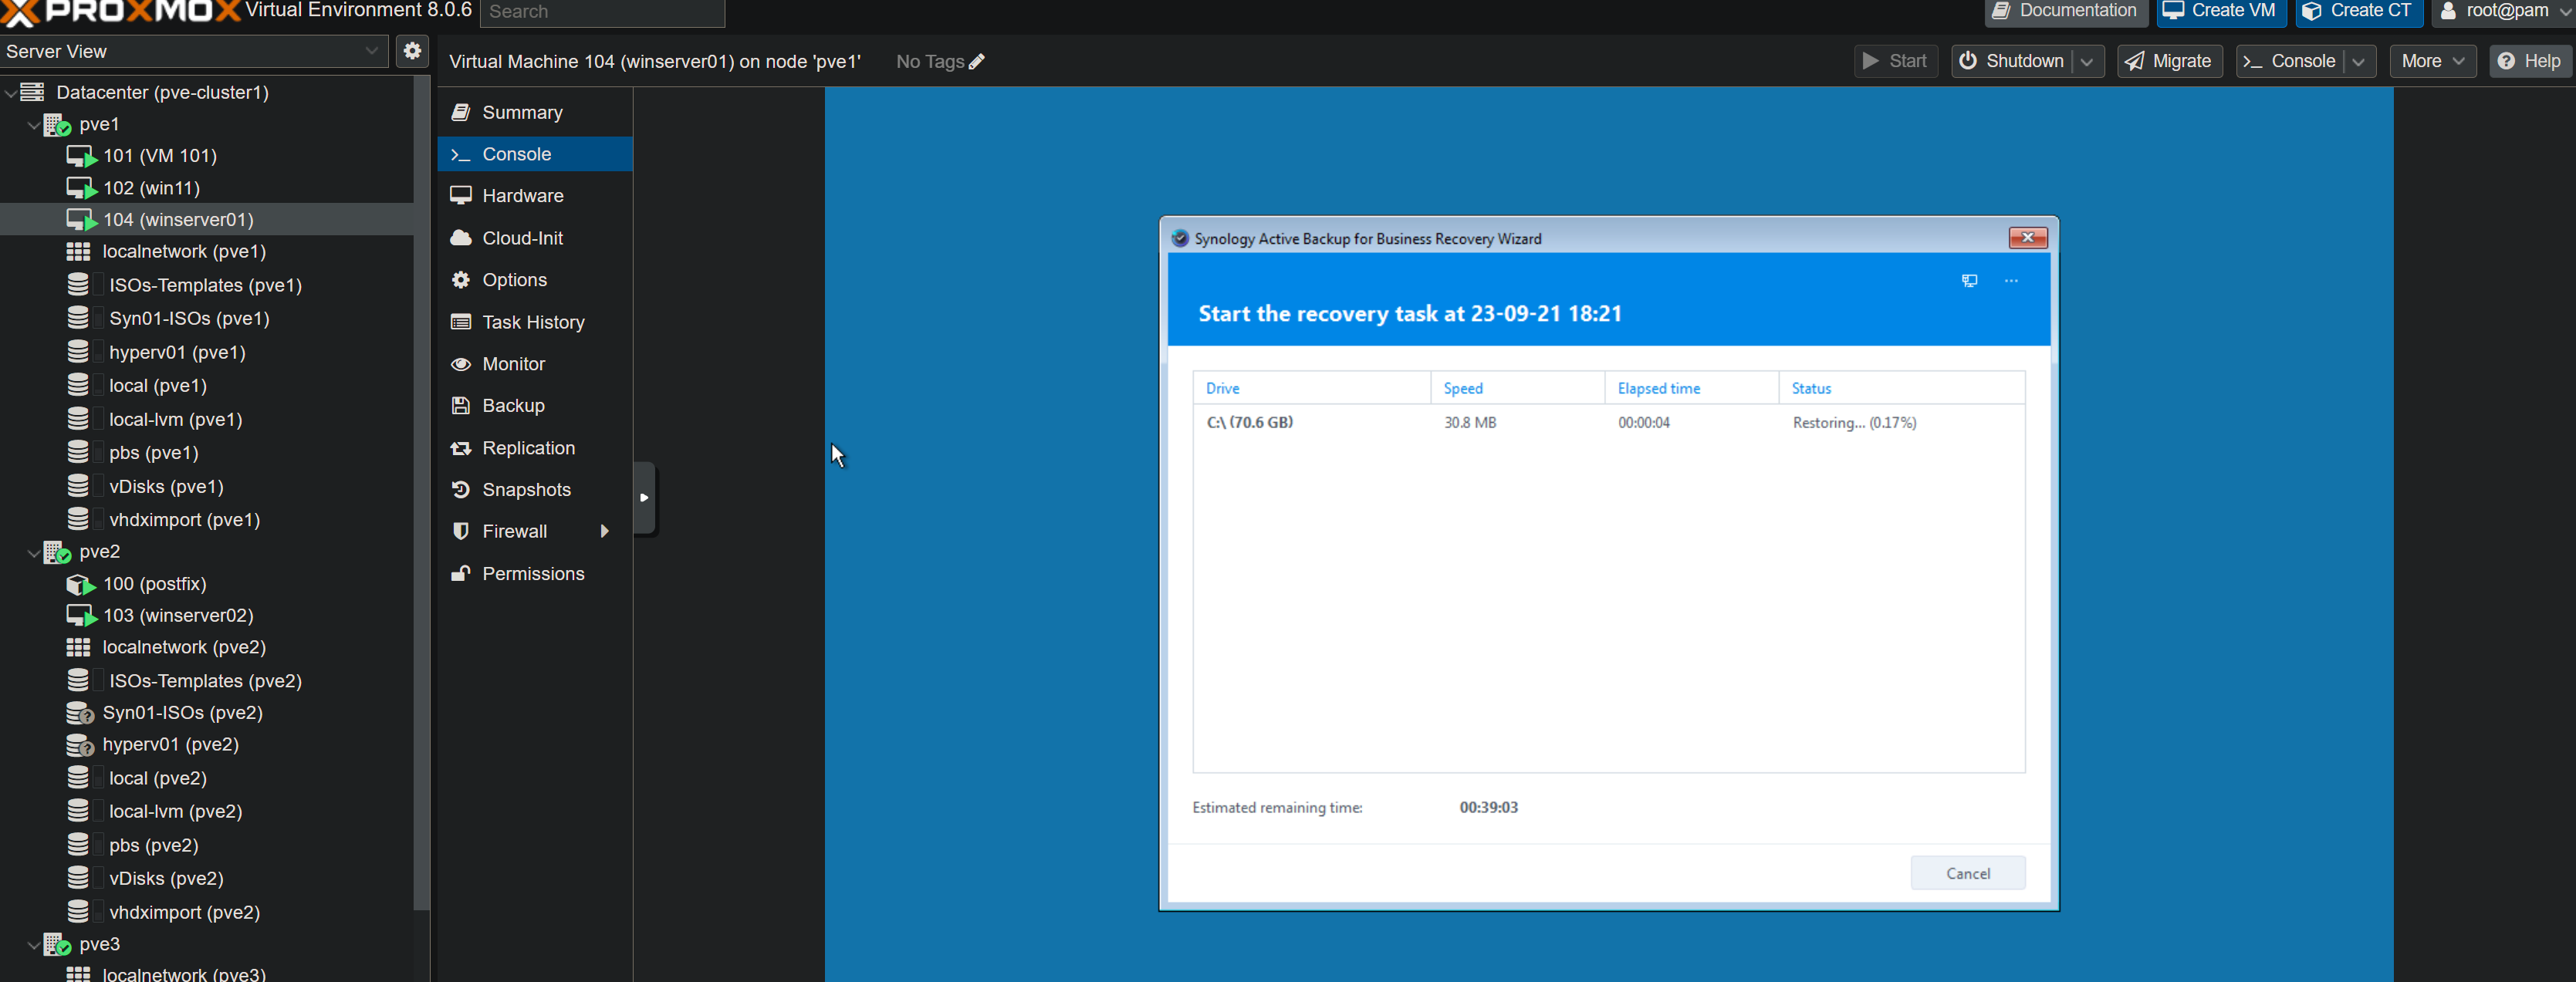
- estimated time to restore ~50 minutes - actual ~11 mins (image is larger than dc2 because of gui install of server)
- eject media from VM
- click turn off in the rercovery screen
- make sure in the boot order options virtio is still enabled
- cross fingers
- restart VM
- you should see a dew reboots etc and 'getting ready' and be able to login
- login to the VM
- in device manager whow hidden device
- remove hyper-v network adpater (it should be grey)
- in control panel change netwokr settings from DHCP to your original IP address settings
- shutdown
- now add the nic back to vmbr0
- start the VM
- check your DC is working prpoerly - be careful not to get worried by transient errors in dcdiag or repadmin
- shutdown the VM
- detach the IDS disk (the disk will now appear as unused
- double click it and add it back as virtio block, write through, discard = checked
- chnage vm options to add virtio0 to the boot order
- start the VM
- Machine should boot just fine
- you are now good to go and can remove the virt1 temp disk any time you like (it is no longer needed)
This page started as a gist: the original, with its comments