EFI / BIOS changes
These are the steps need to boot disks when the source hypervisort (in my case hyper-v) was using EFI and GPT disks.
Note wether the OS is Debian, Ubuntu, etc or Windows these steps change - the main difference will be step 7 and the name of the efi file. You will only need to do this if the OS has been install on a source hypervisor where EFI was enabled on VMs (e.g. gen2 VMs on Hyper-v)
Steps
-
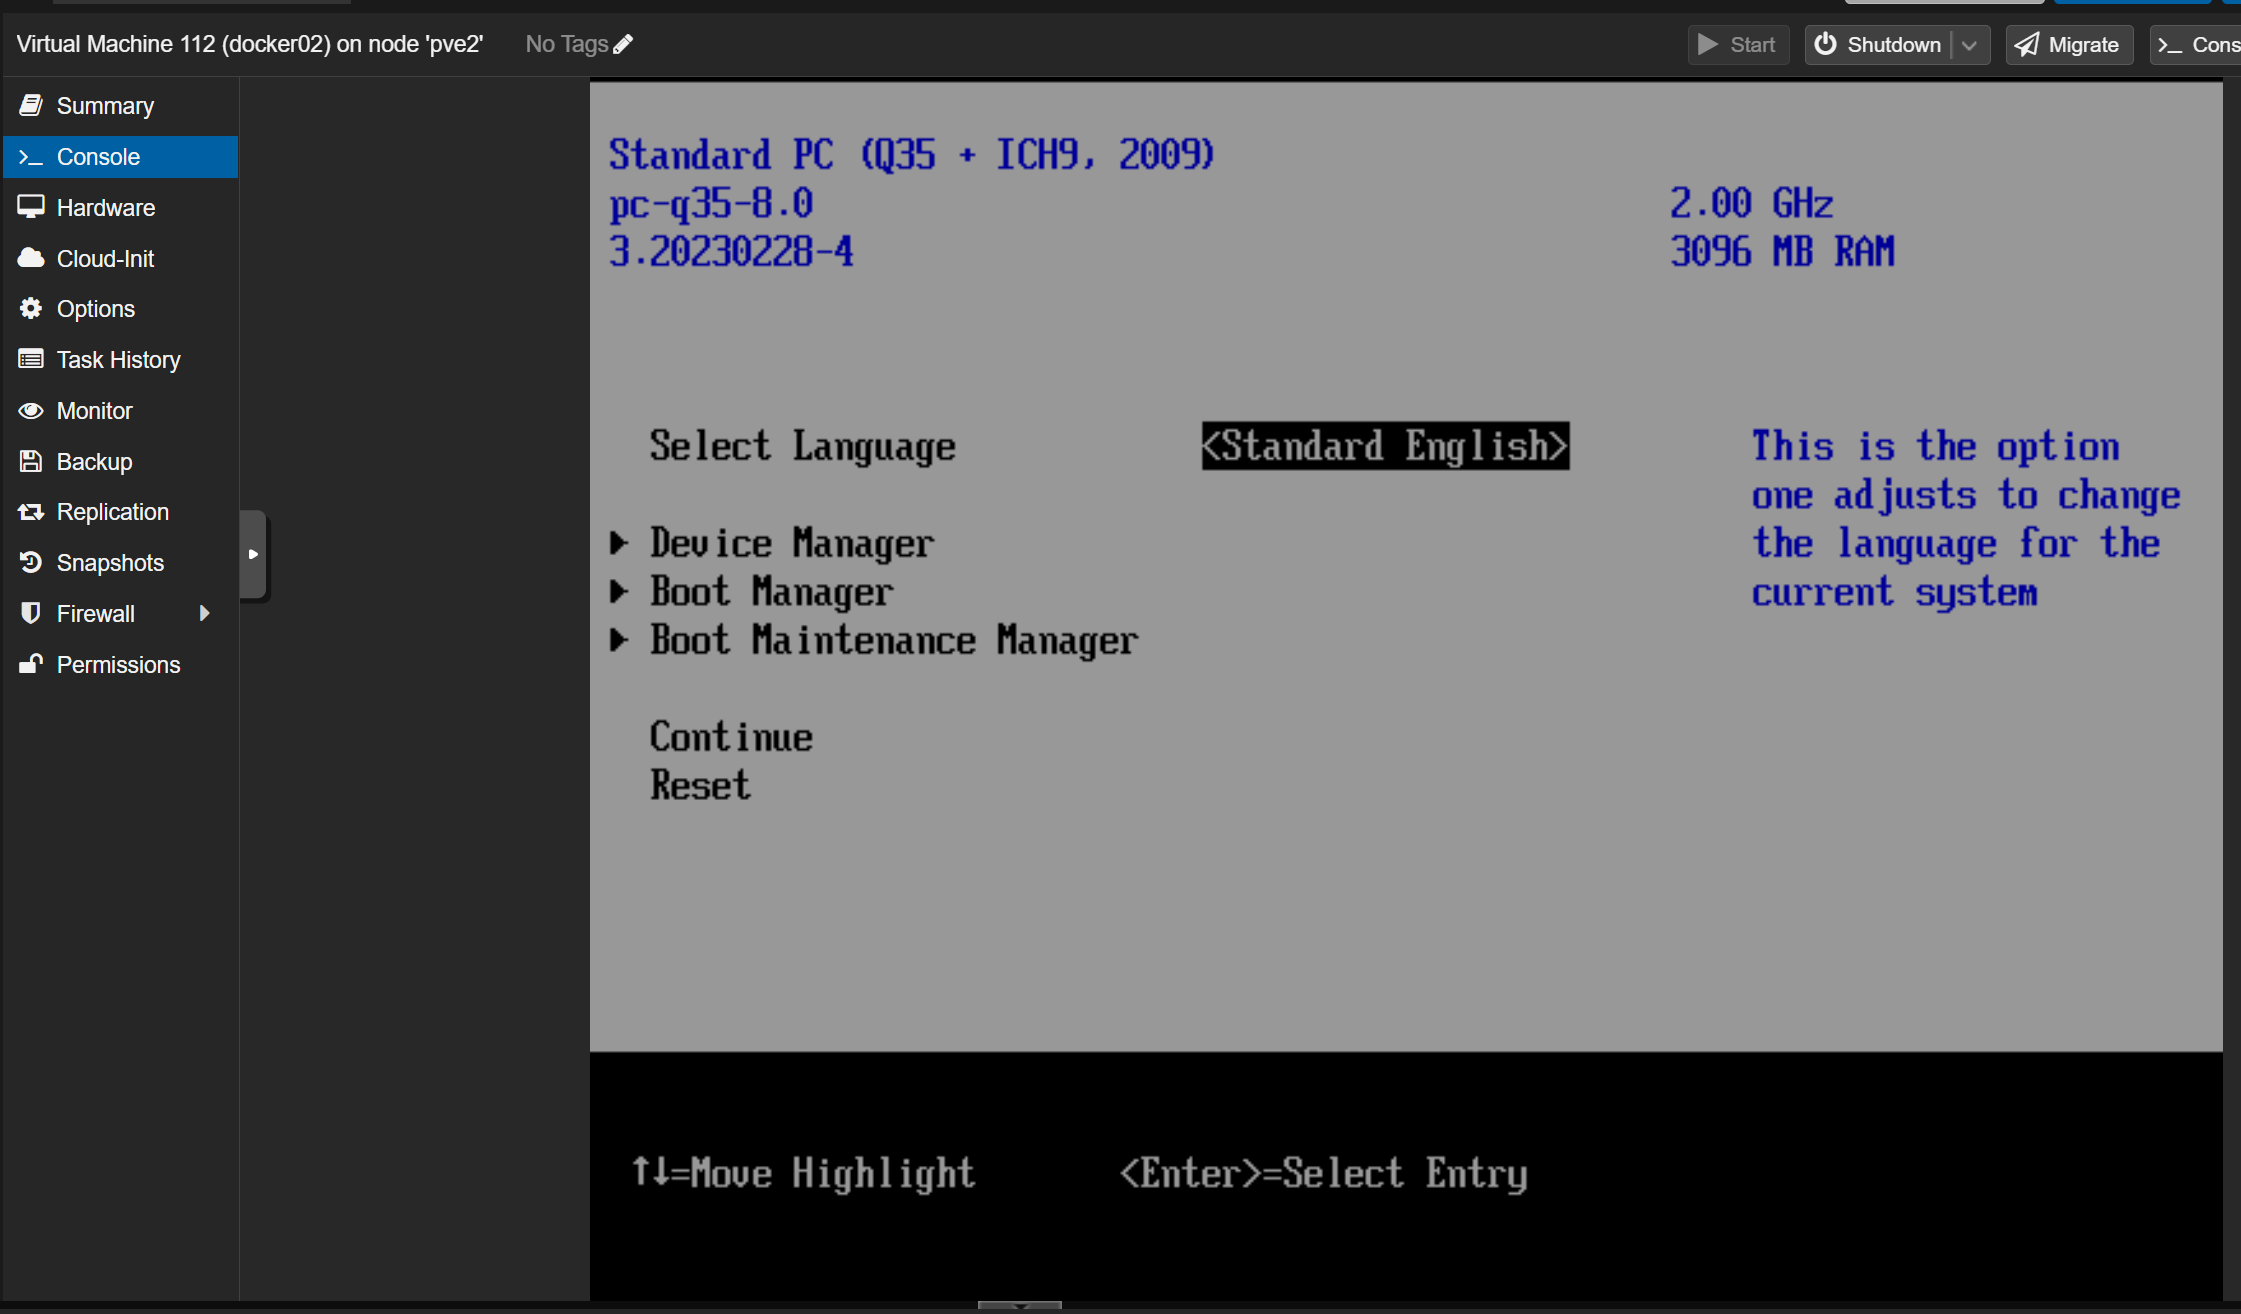
boot and entio bios to change UEFI order click in console as it says bootin and mash esc key until you see:
-
select boot maintenace manager above
-
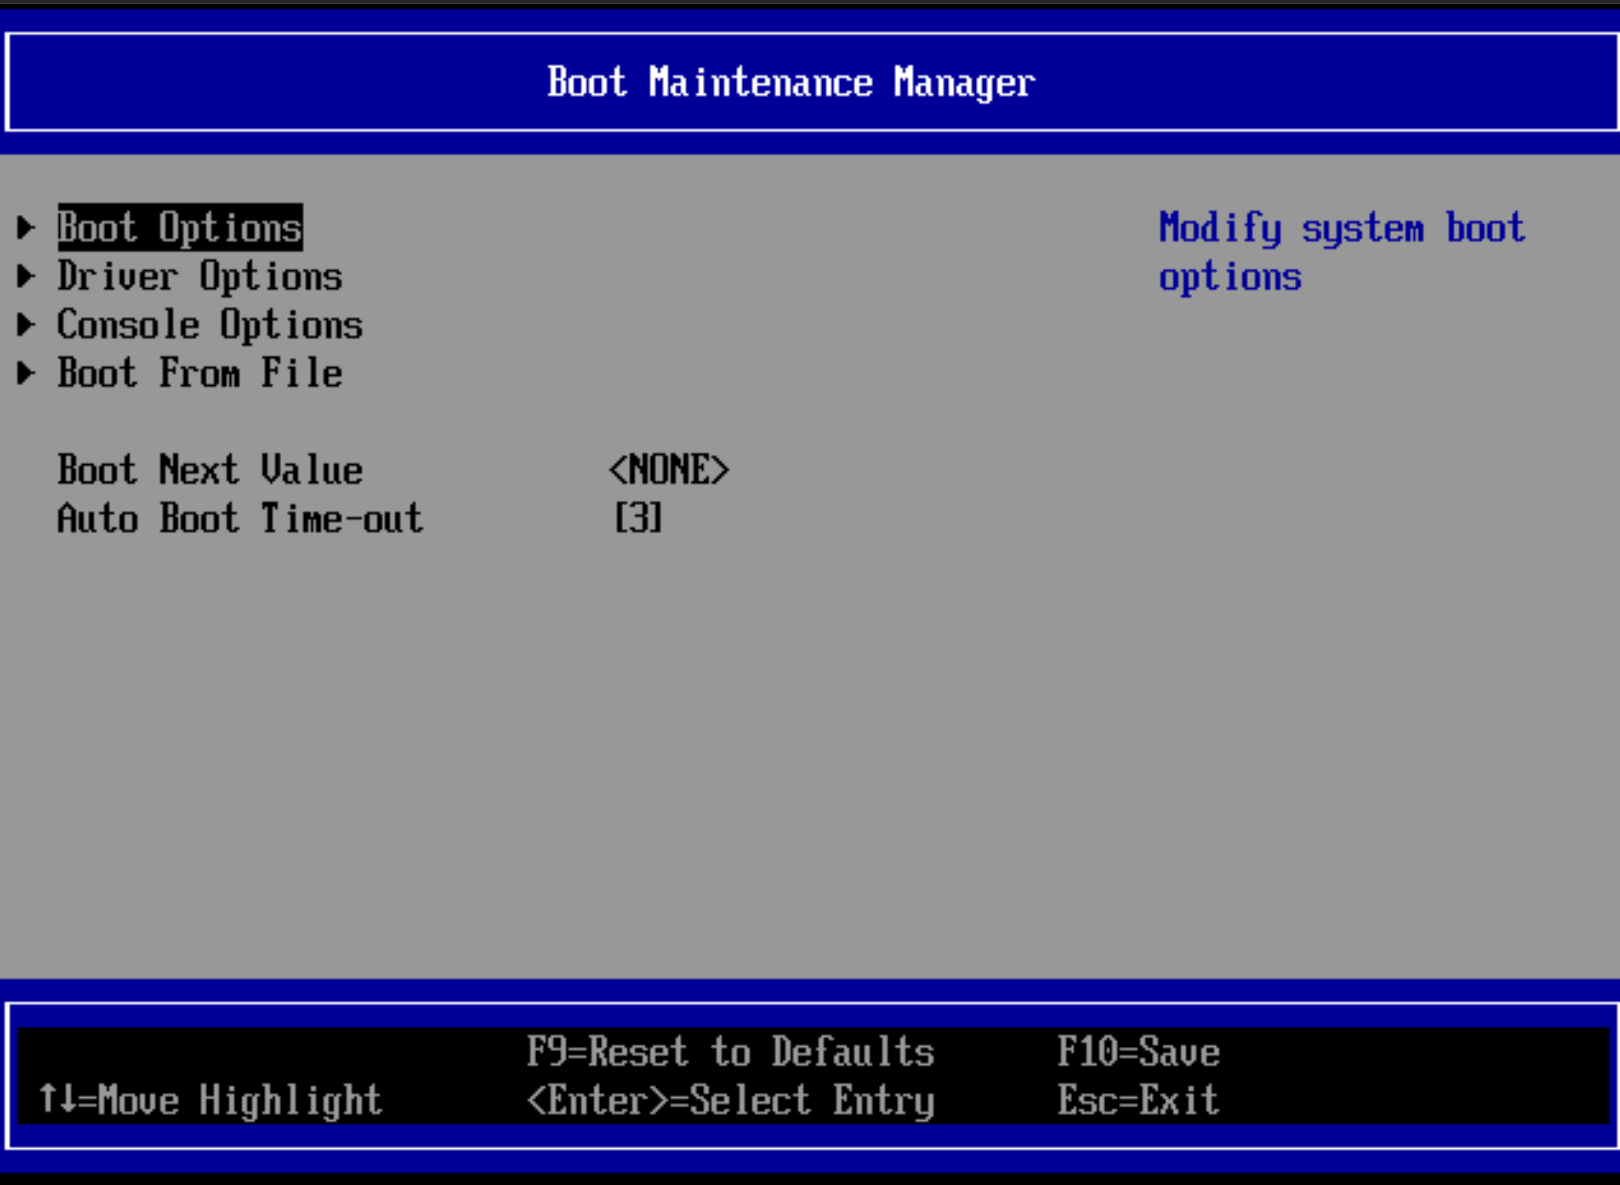
then select boot options.
-
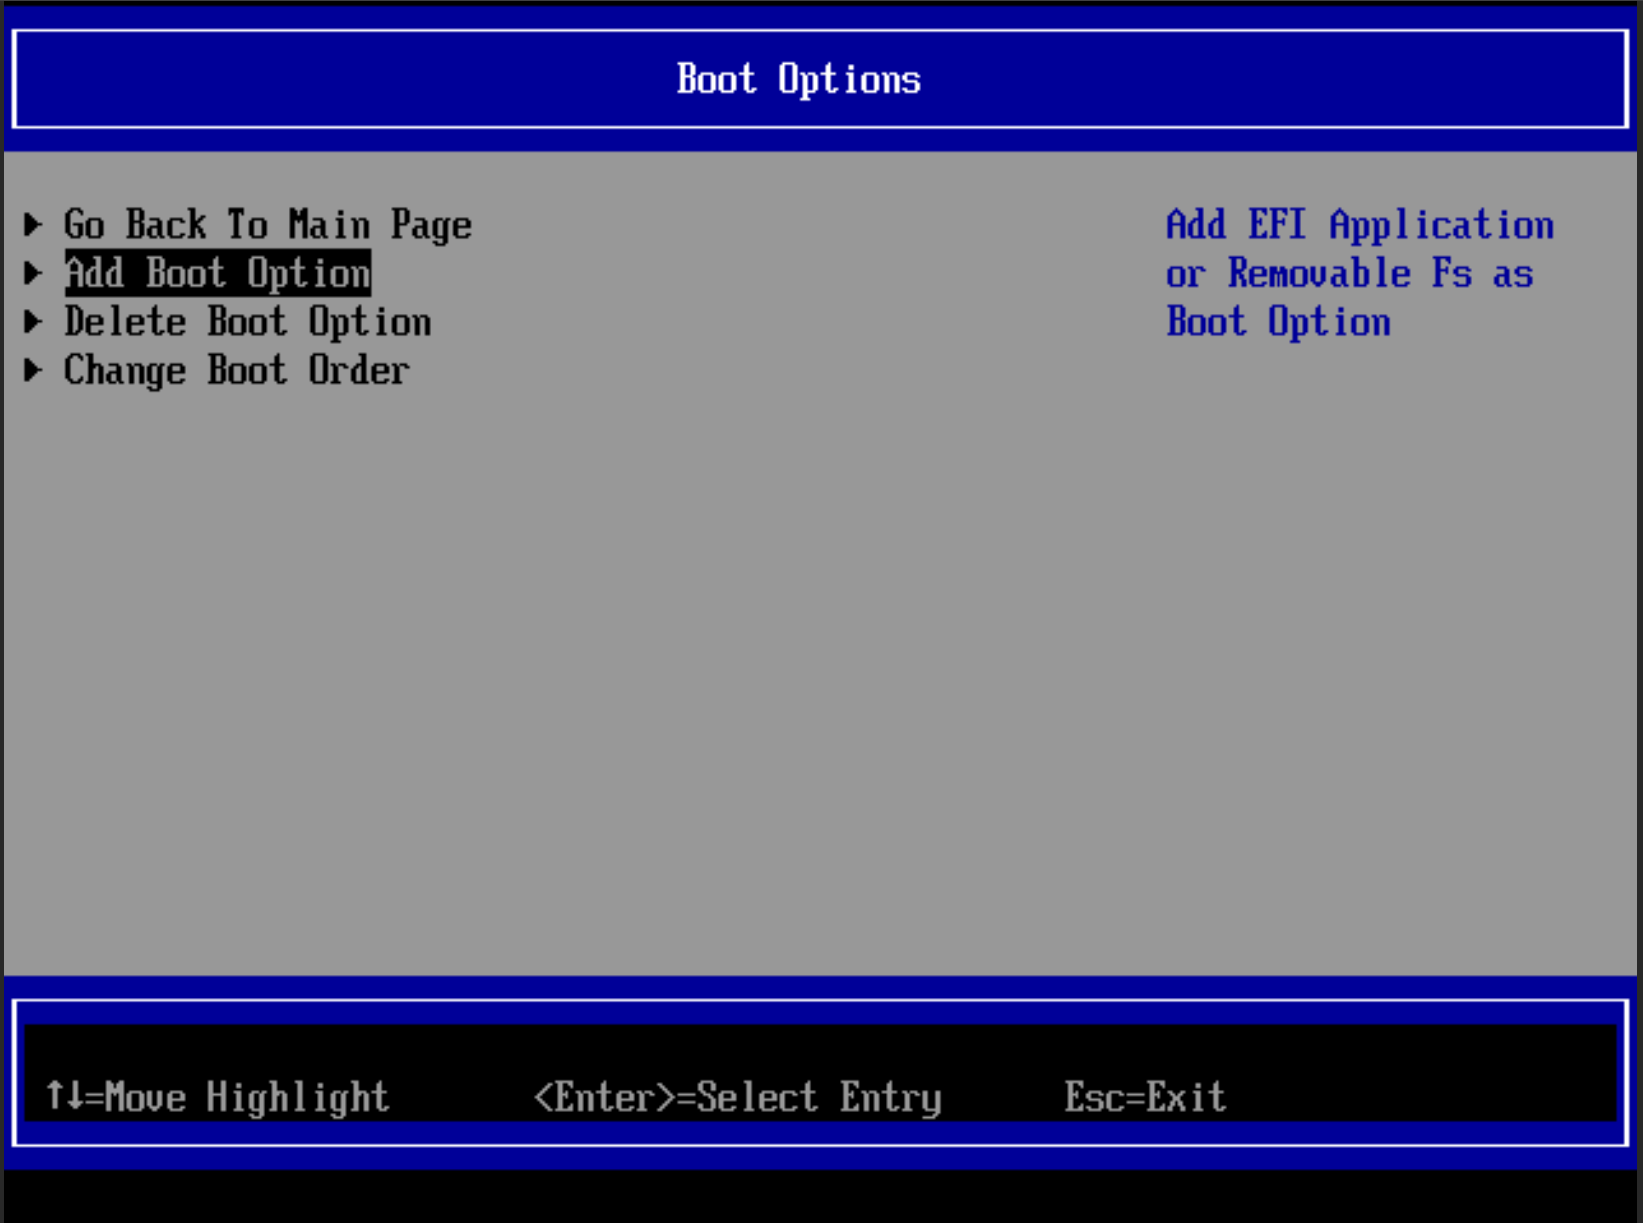
then select add boot option
-
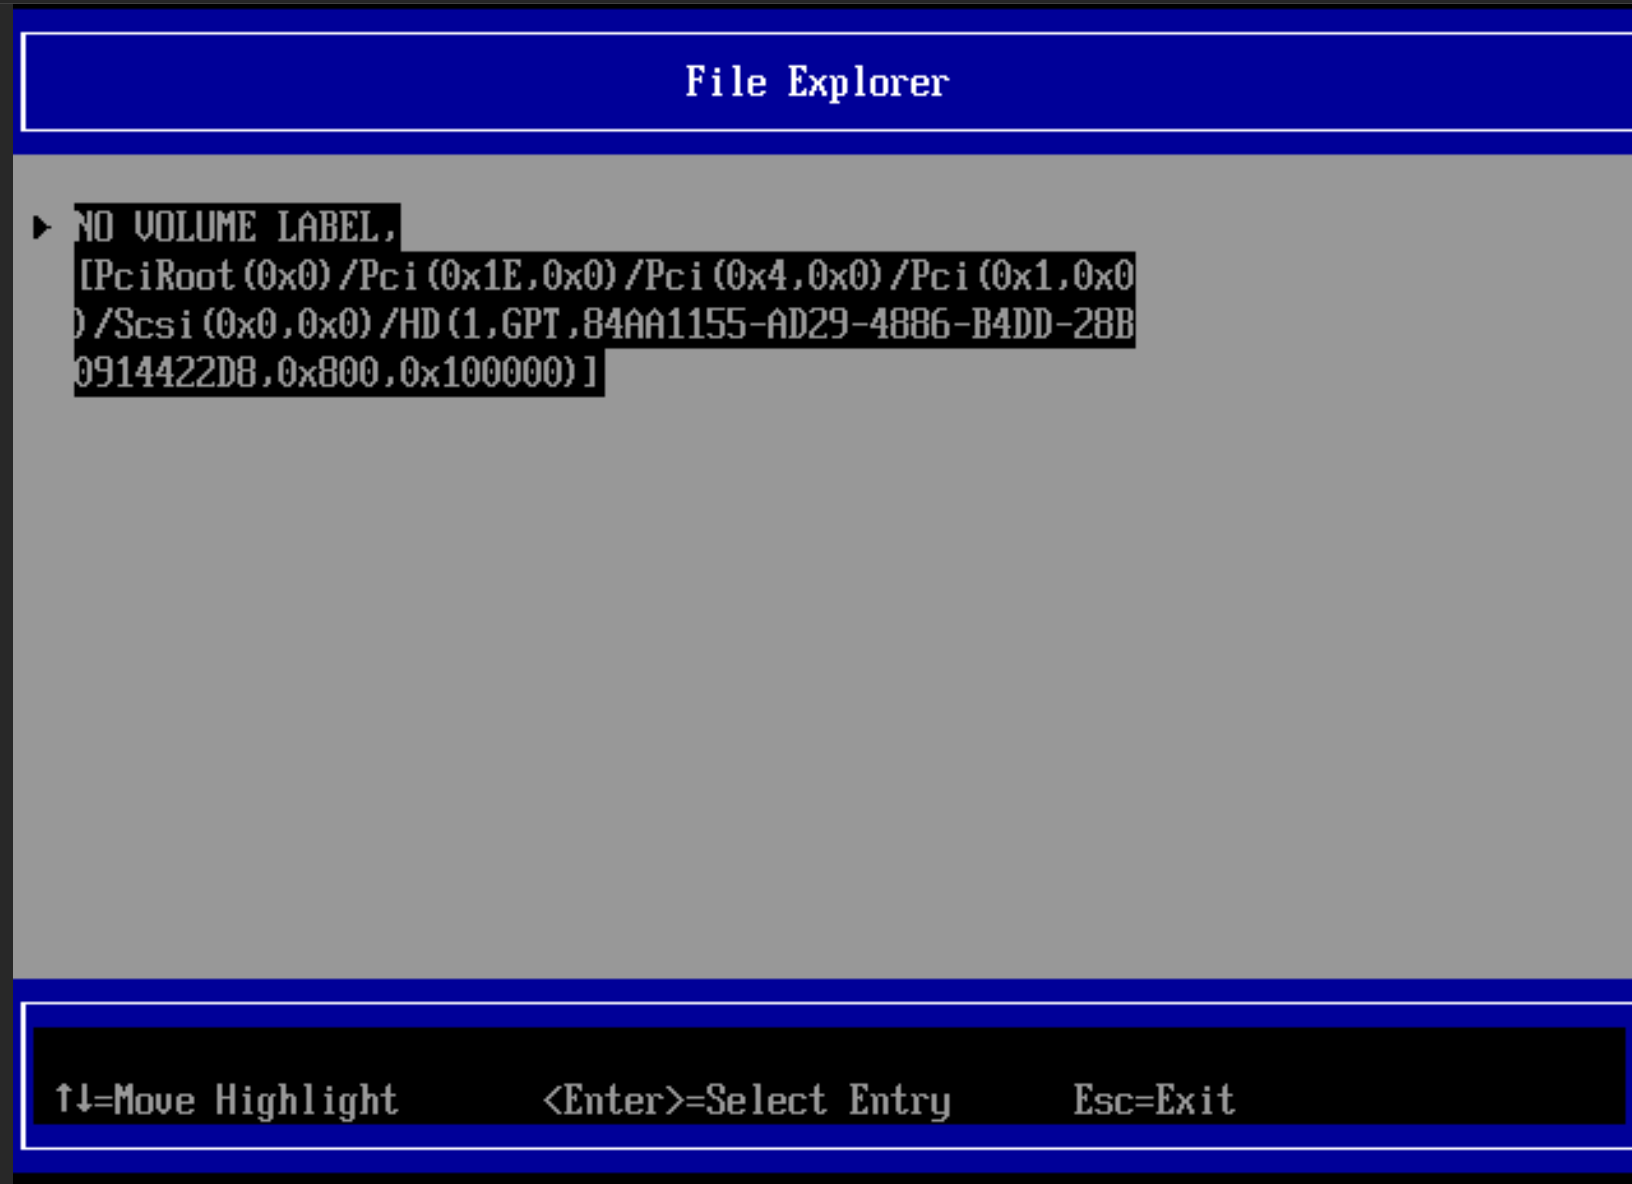
then select the boot volume (if you did step 8 right there will be only one)
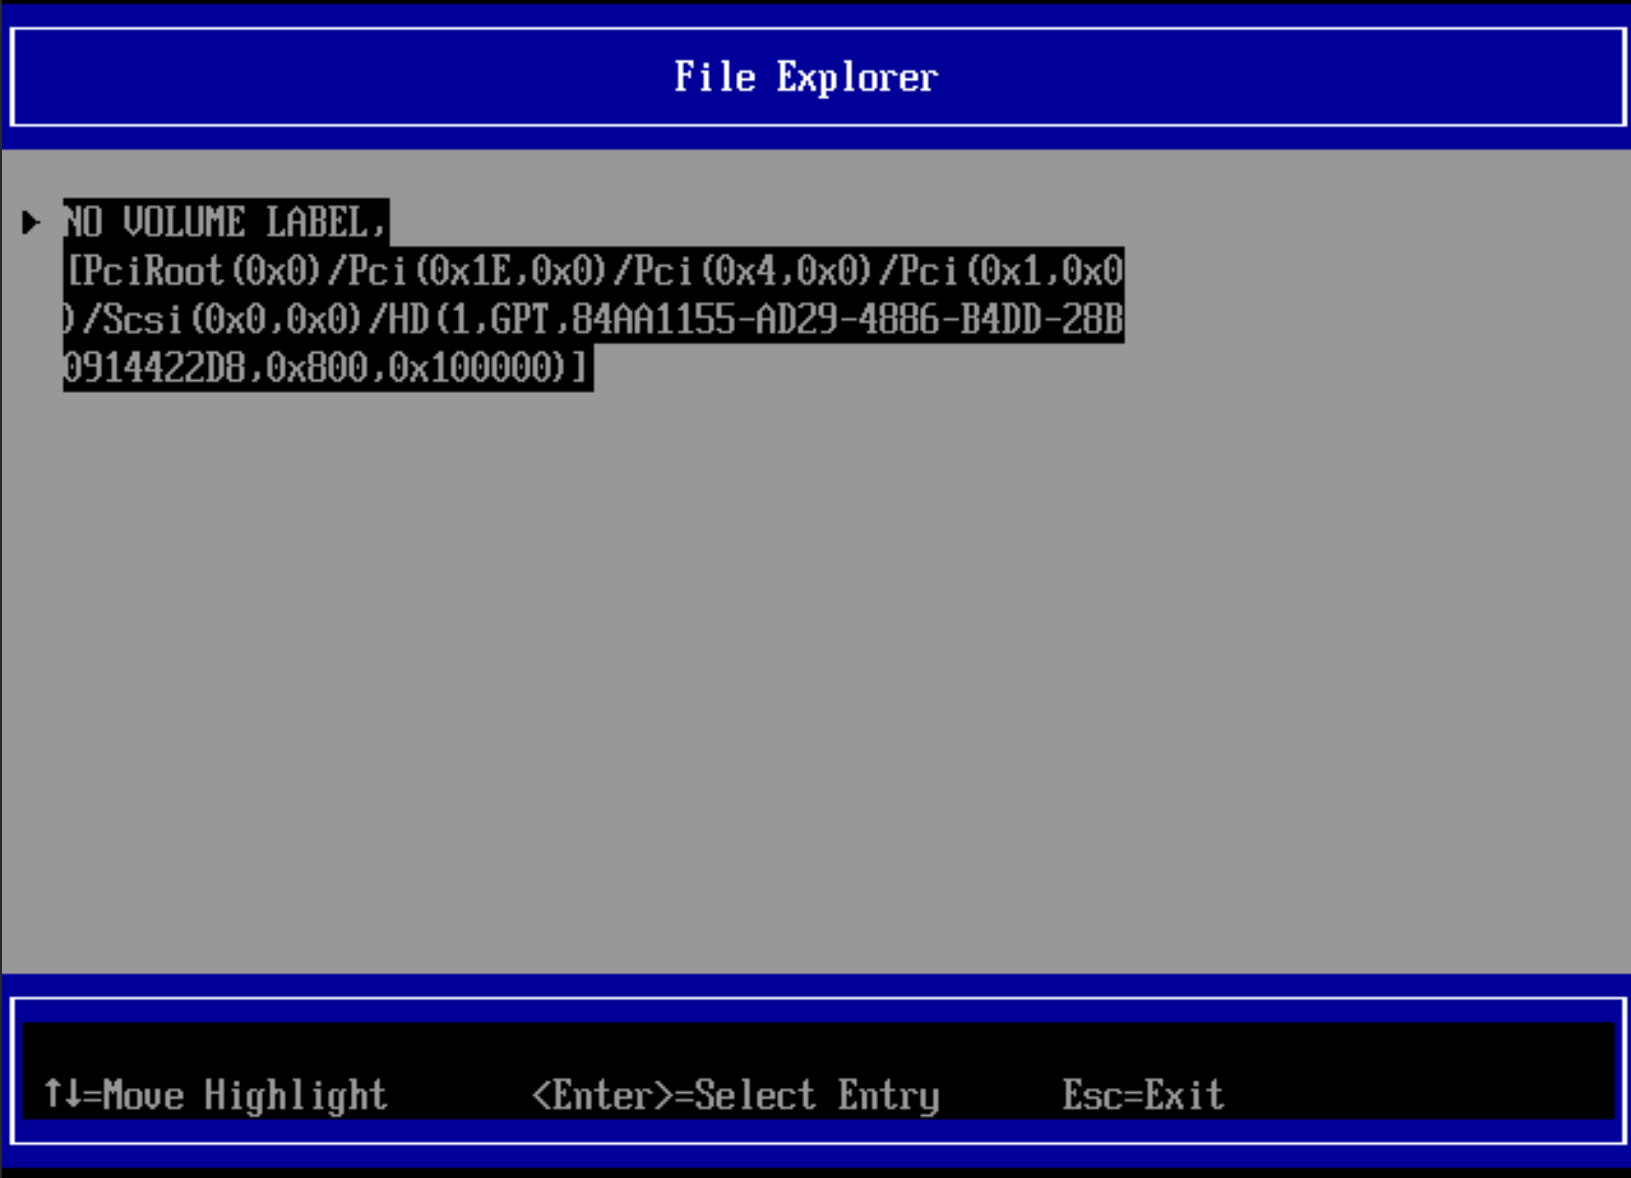
-
select EFI
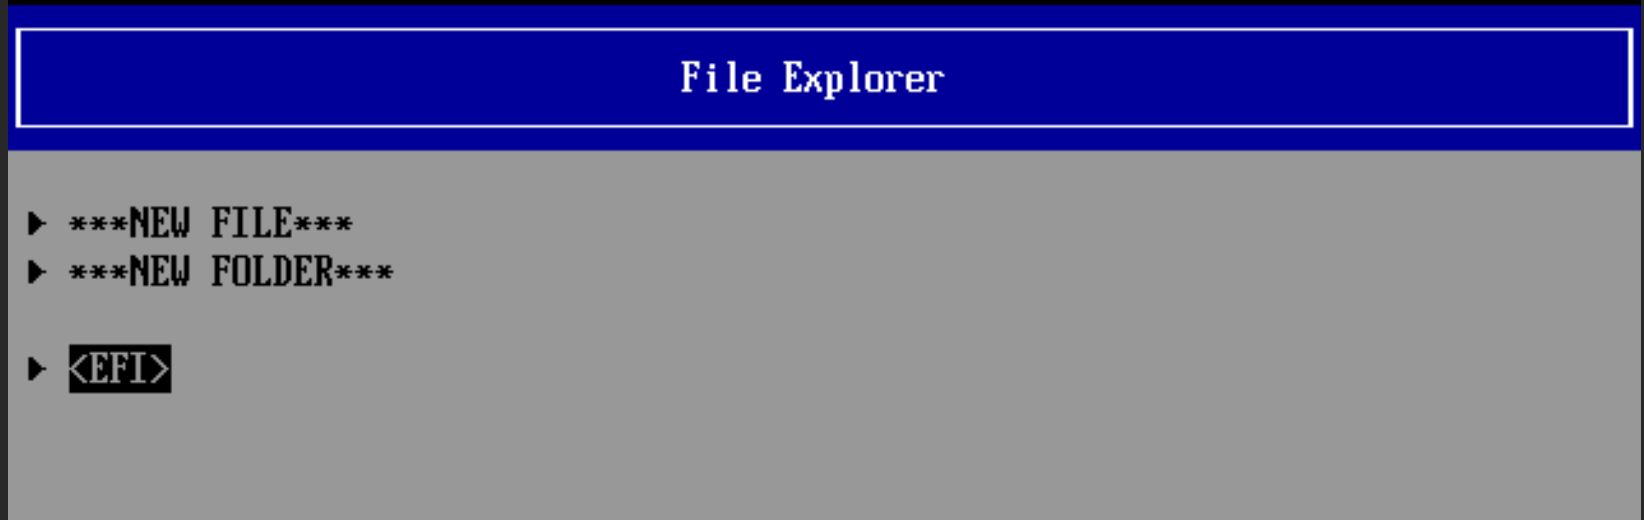
-
select the OS (in my case debian)
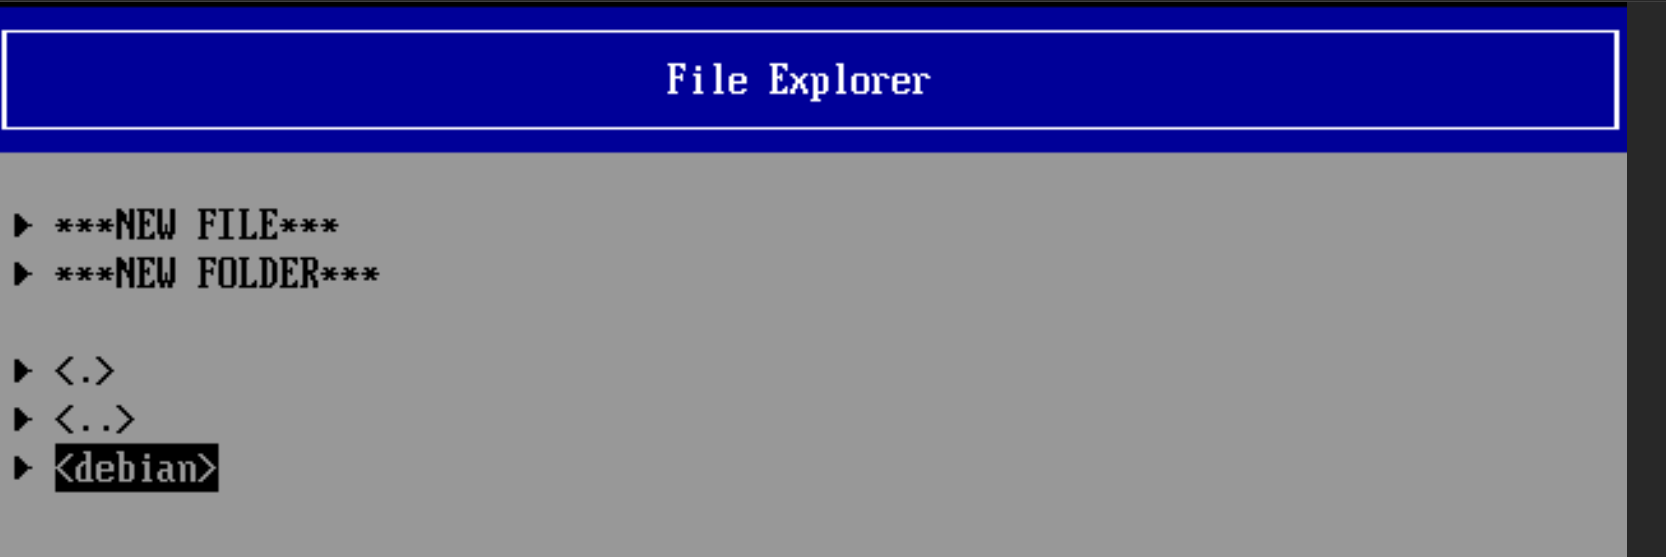
-
select the right EFI file - in my case either grubx64.efi or shimx64.efi will work, i go with grubx64.efi
-
add a description - anything will do, just rememebr it
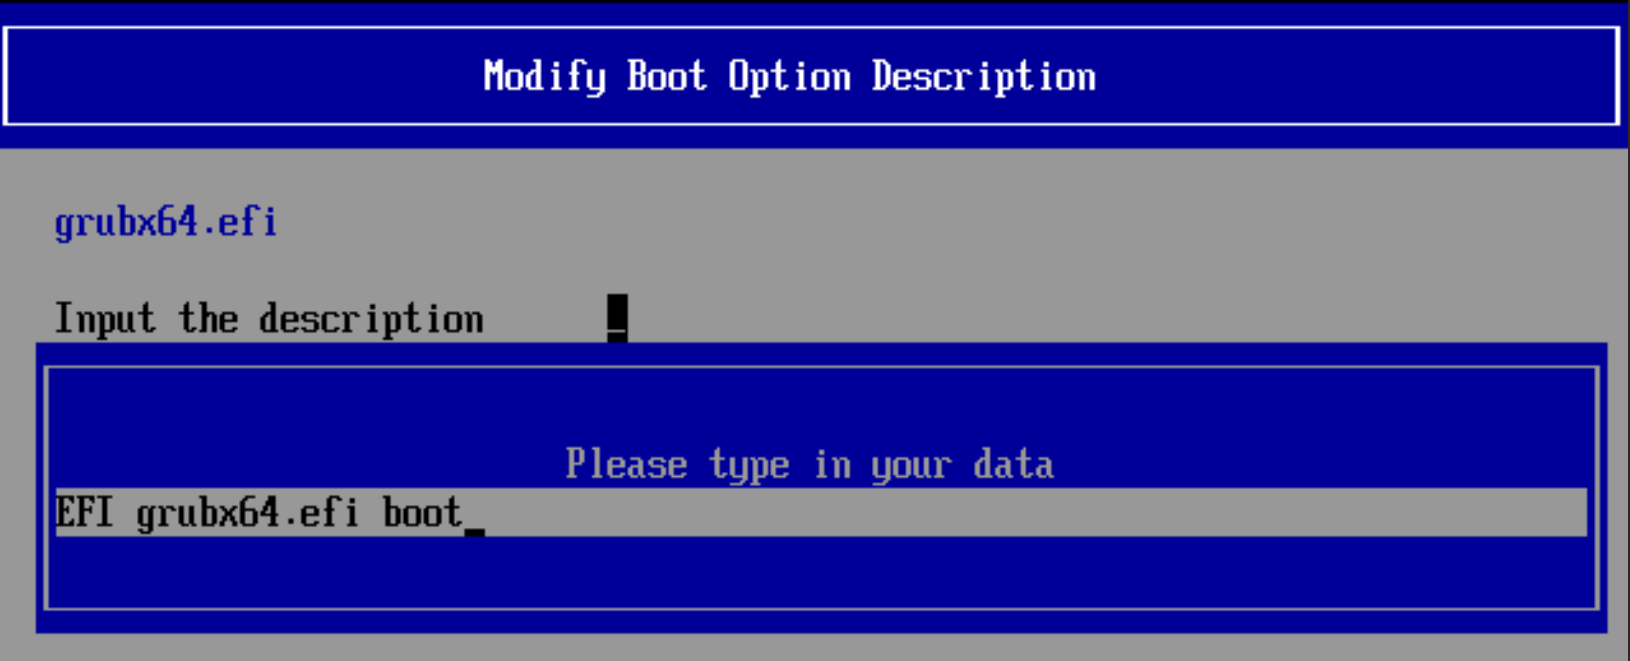
-
commit changes and exit
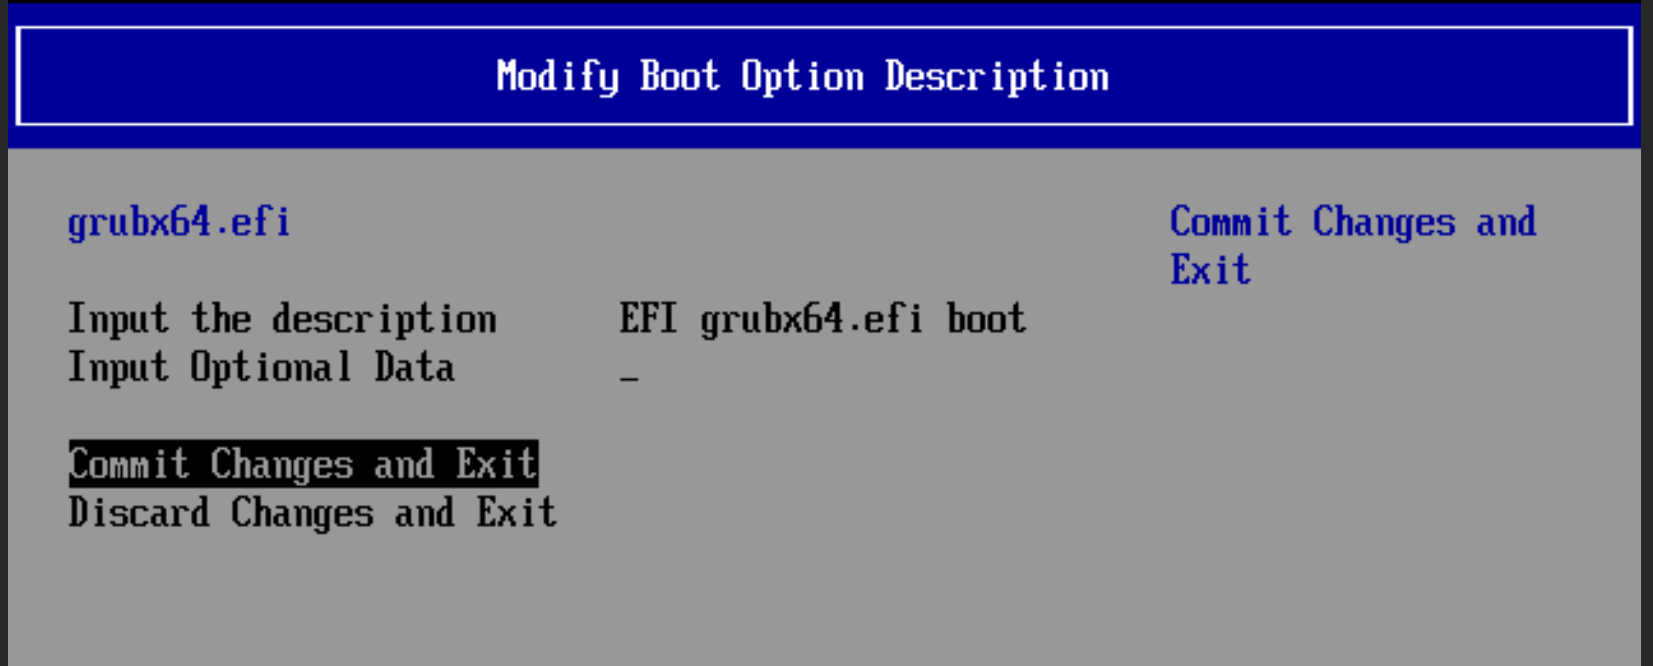
-
select change boot order:
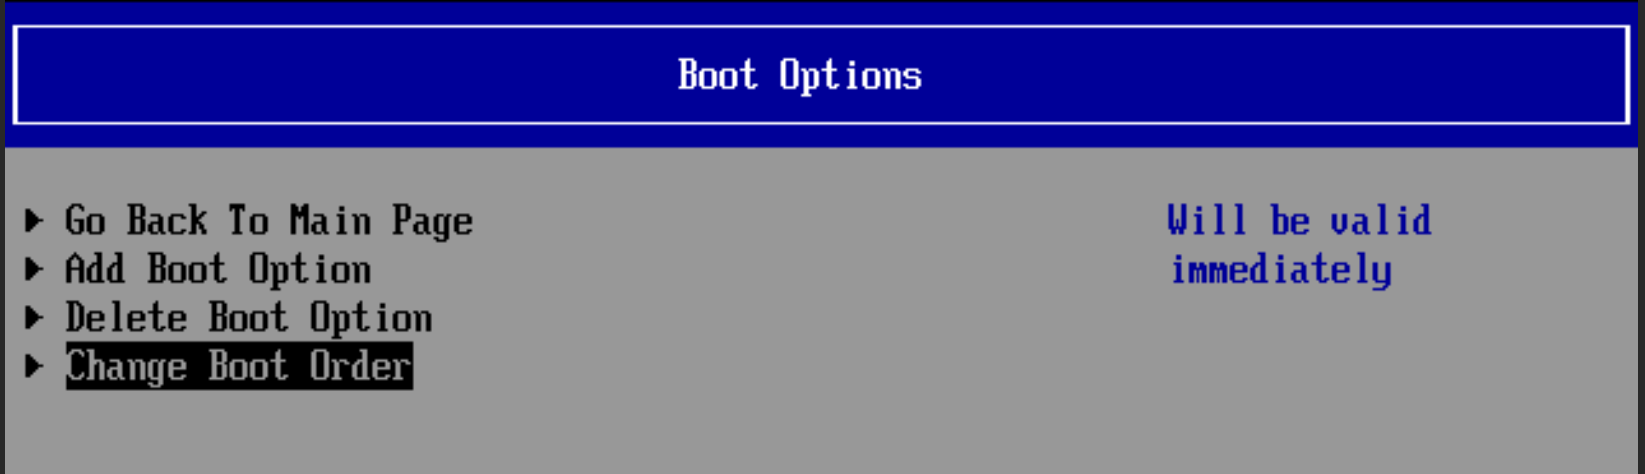
-
select what you see here ny default by pressing enter:
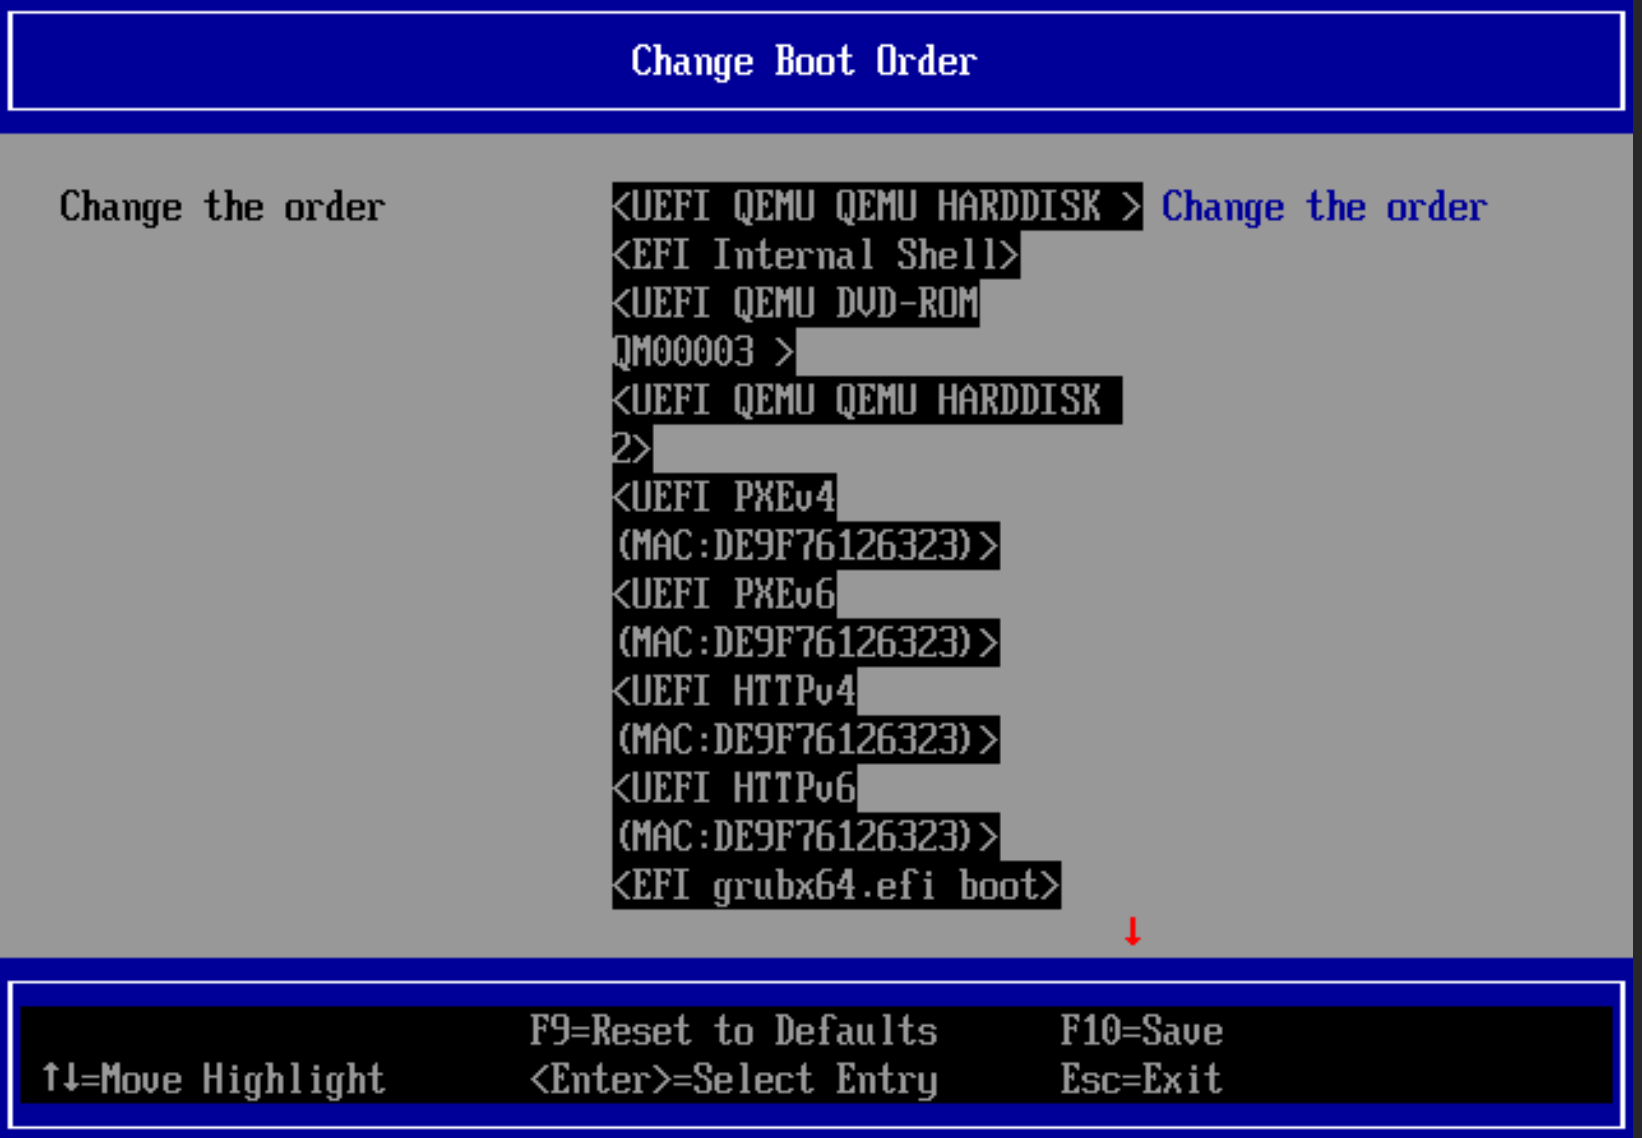
-
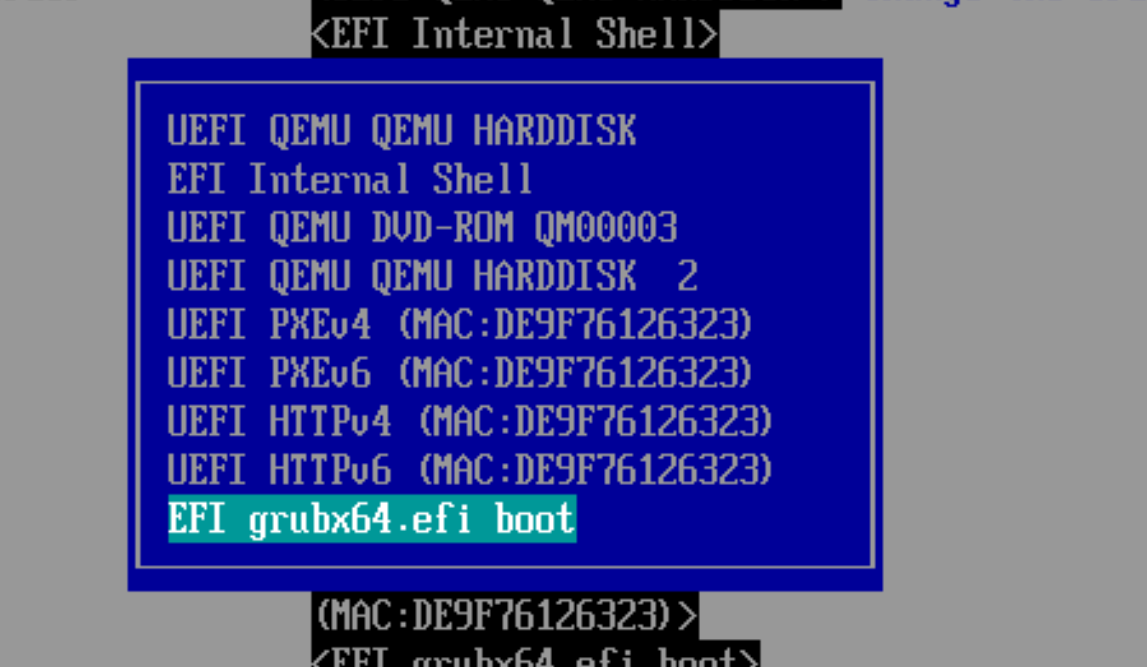
now highlught the entry you made:
-
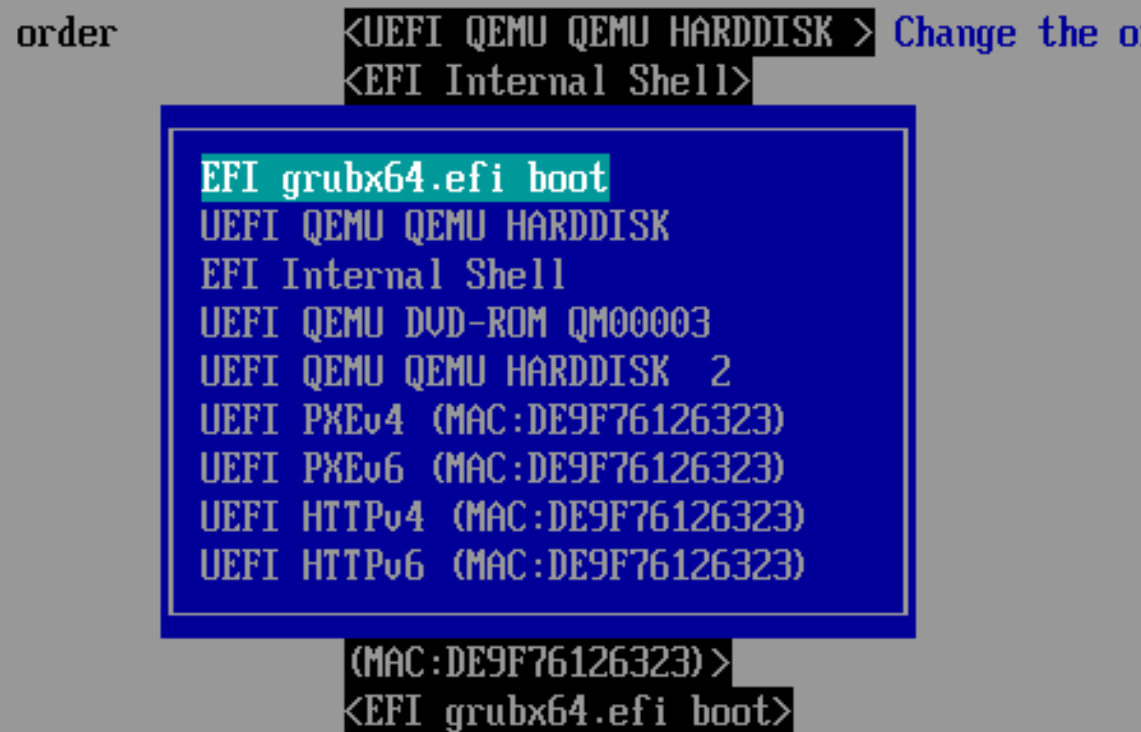
and keep pressing + until it looks like this and press enter:
-
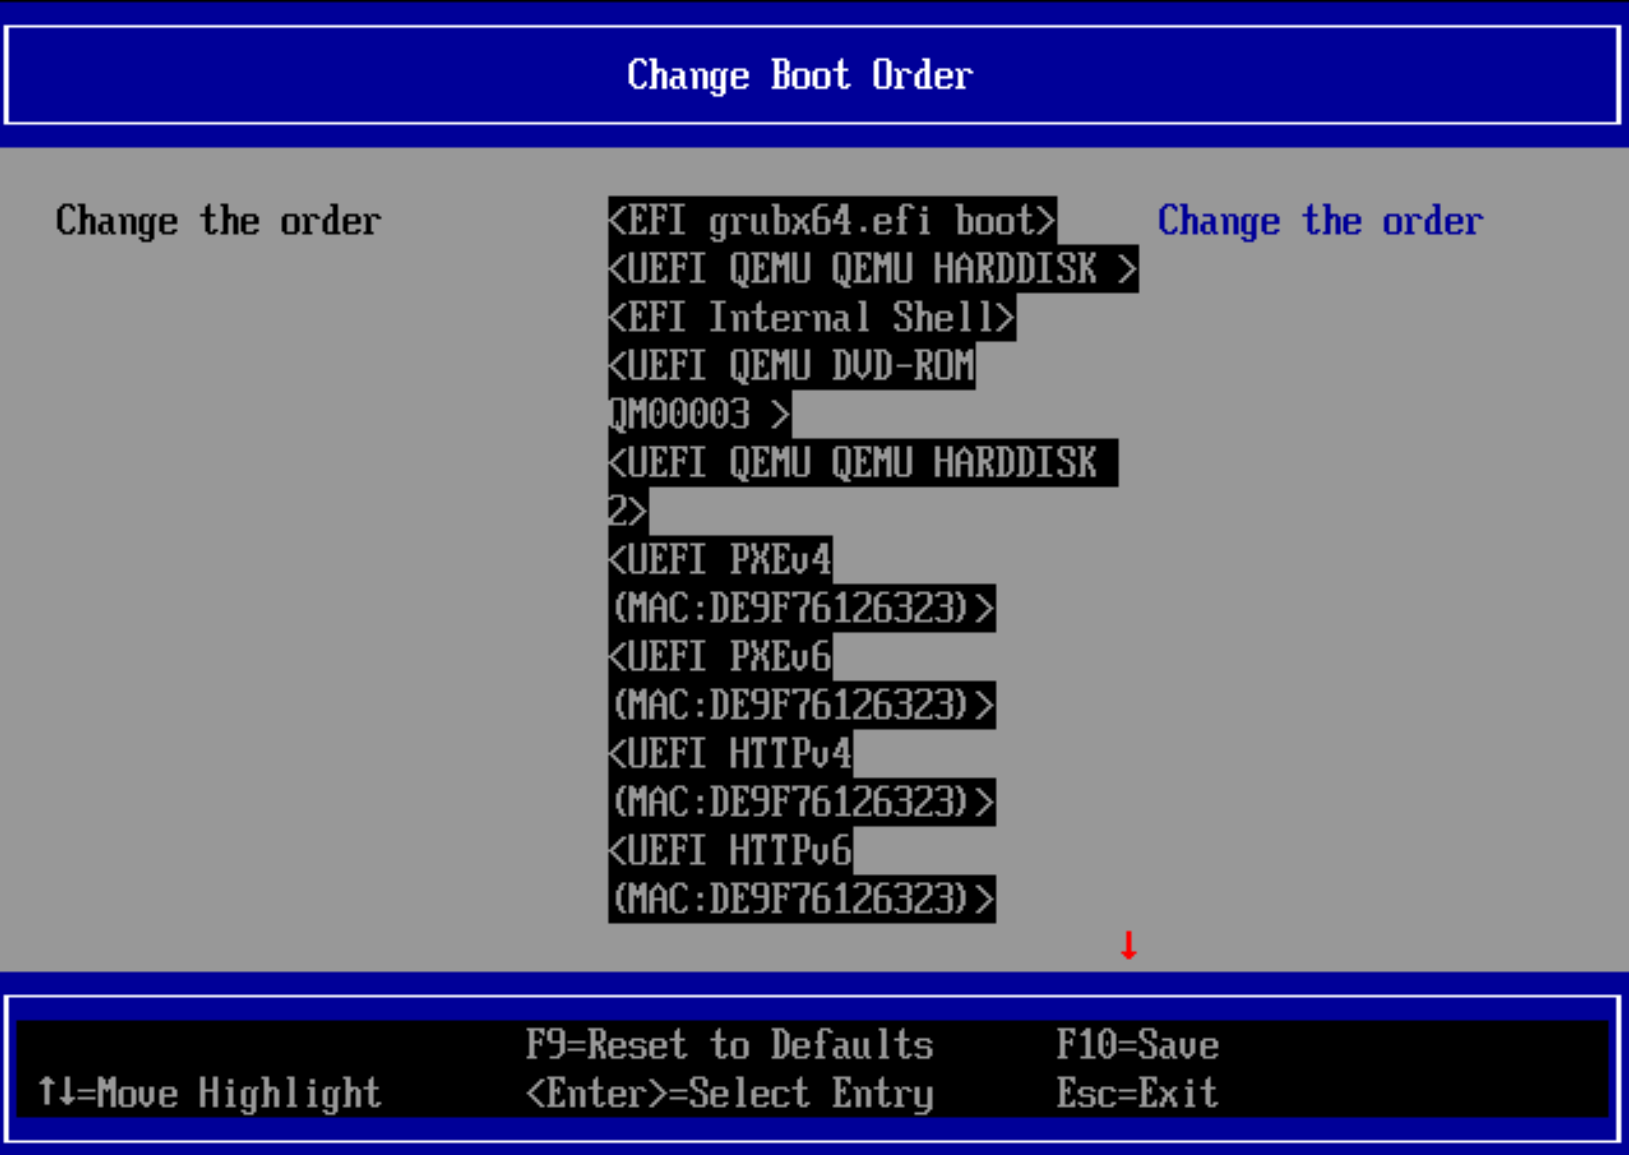
you be back here, press F10 to save, and then esc and esc and :
-
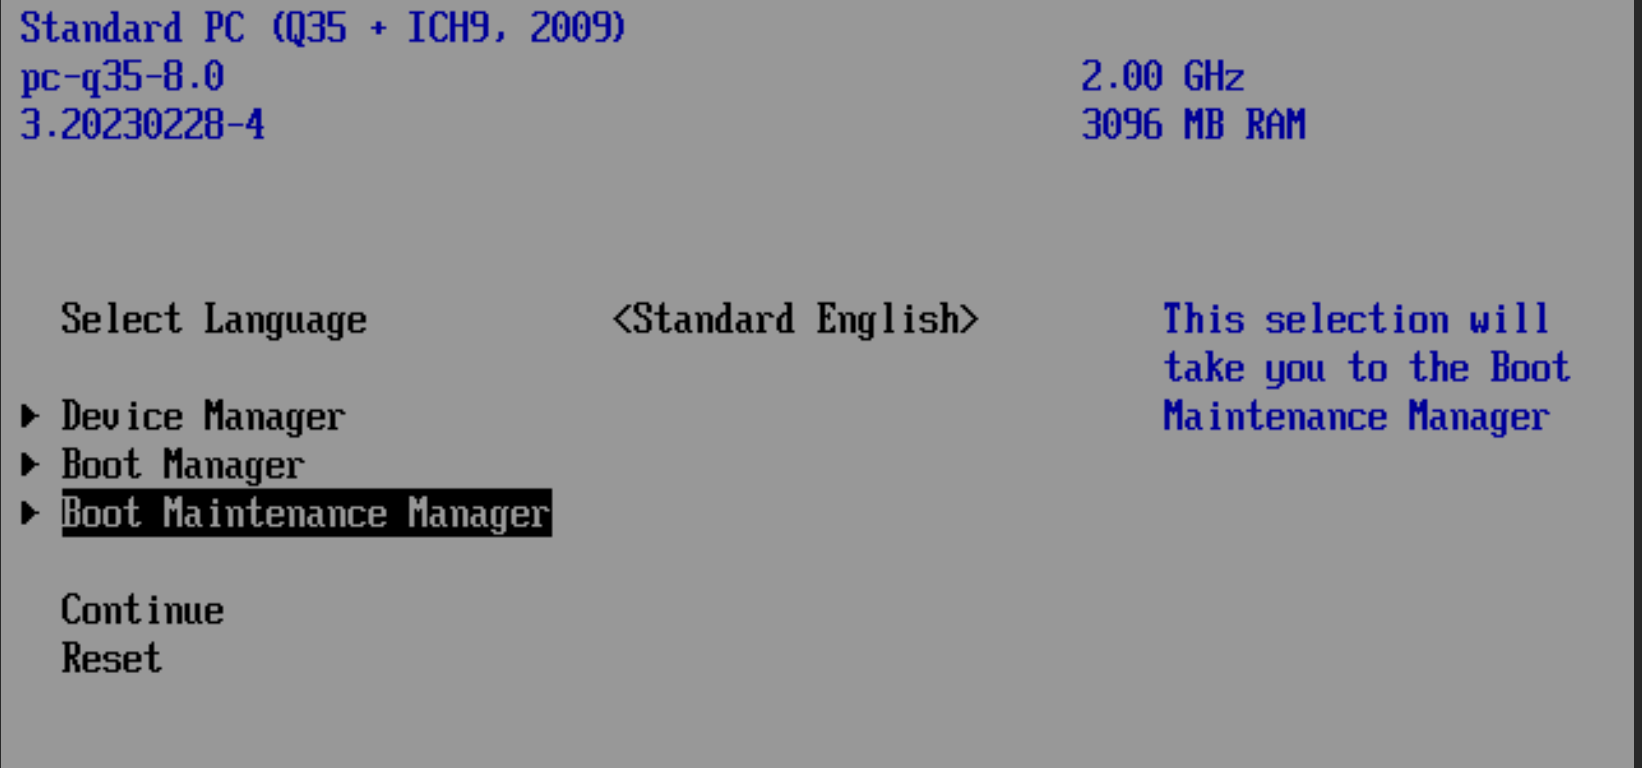
when you are back here choose reset and your new vm will boot
This page started as a gist: the original, with its comments